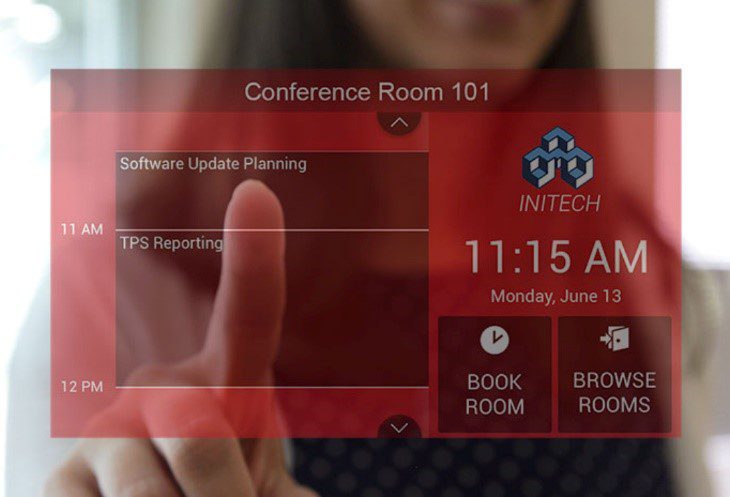
After the decision by Microsoft to remove support for Basic Authentication in Exchange Online, we have been working feverishly to develop a solution that would enable Book customers to continue using their panels. We are pleased to announce a firmware update which will add support for Modern Authentication to Book Scheduling panels through RMS.
This new firmware will add the ability for Book panels to connect to RMS without the need for a NetLinx processor or any programming. RMS, which supports Modern Authentication, will handle communications to Exchange and distribute the room schedules to each Book panel.In order to handle the Modern Authentication for the RoomBook panels, an RMS installation is required. This software is required to be installed in Windows Server environments. A virtual server is acceptable for these installations, and details on the requirements can be obtained from the documentation for RMS or from Technical Support. See https://www.amx.com/en-US/product_families/resource-management-suite-rms for information on RMS.
The steps to an RMS installation are as follows:
1. Set up a Windows Server (virtual is fine) to run the RMS server application. If an external SQL database is available for hosting the RMS database, then it can be used instead of a separate SQL server being required.
2. Download and install the RMS Server application on the server set up in Step 1 and then walk through the RMS Configuration portion to set up the server. The RMS server application is available here https://www.amx.com/en-US/softwares/resource-management-suite-enterprise-v4-8-2
3. Set up a Windows Server to run the RMS Scheduling Server application. This will be the server that will handle the connection to Exchange/Office365 using Modern Authentication.
4. Download and install the RMS Scheduling App for Exchange onto the server set up in step 3 and then walk through the configuration portion to set up communication to Exchange/O365 and connect to the necessary mailboxes. This server will also connect to the RMS Server application set up in step 2. This application can be downloaded here https://www.amx.com/en-US/softwares/rms-enterprise-scheduling-interface-for-exchange-v1-2-3
5. Upgrade each RoomBook Panel to the new firmware. There are different files for the MD/MT panels and AcendoBook/RoomBook panels. Install the firmware appropriate for the panel being used.
6. Configure each RoomBook panel to point to the newly configured RMS server and then add that panel as a location in RMS that corresponds to its mailbox.
Harman Technical Support is available to discuss the server requirements for hosting RMS and is also available remotely to help with the actual installations and setup if desired.